The purpose of making a context file is sending the current content of your dongle to BuildSoft. Based on that, we can generate a new upgrade file for your dongle.
The procedure requires TWO things from you:
1. Context file
Follow the steps below (watch movie with steps):
- Open CodeMeter Control Center and select the dongle for which you want to make the context file.
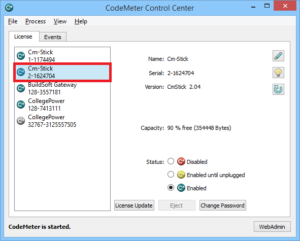
- Click ‘License update’.
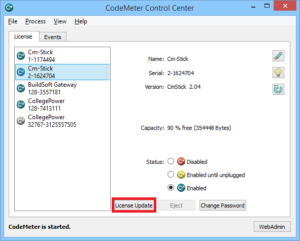
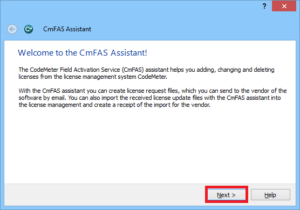
- A new window pops up. You’ll see ‘Welcome to the CmFAS Assistant’. Click ‘Next’.
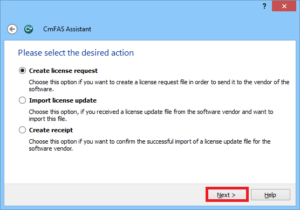
- You’ll see ‘Create license request’. Click ‘Next’.
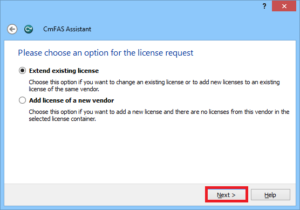
- You’ll see ‘Extend existing license’. Click ‘Next’.
- You’ll see ‘Choose the vendor’. Click ‘Next’.
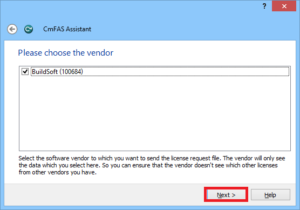
I can't choose 'Vendor'?The list is empty.
- Go back one step with the arrow on the top left side.
- Choose ‘Add license of a new vendor’.
- Enter the Firm code ‘100684’.
- Click ‘Next’.
- Continue with the next step below.
- You’ll see ‘Please select file name’. This step will create the context file (= *.WibuCMRac-file). By default this file will be created in the “Desktop” directory. Do not change the name or the extension of this file! Click ‘Commit’.
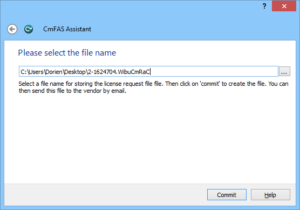
- Click ‘Finish’.
2. Printscreen
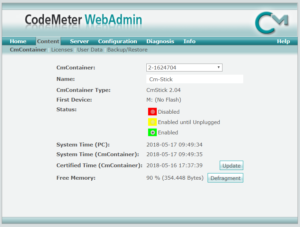
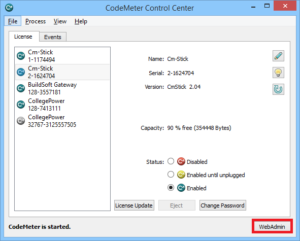
- Open CodeMeter Control Center and select the dongle to make the print screen from. This should be the same dongle as selected in ‘1. Context file’.

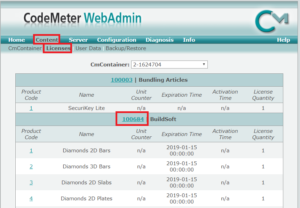
- Click on ‘Webadmin’.
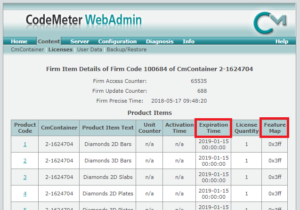
- An internet page will open. You should see the columns ‘Valid Until’ and ‘Feature Map’.
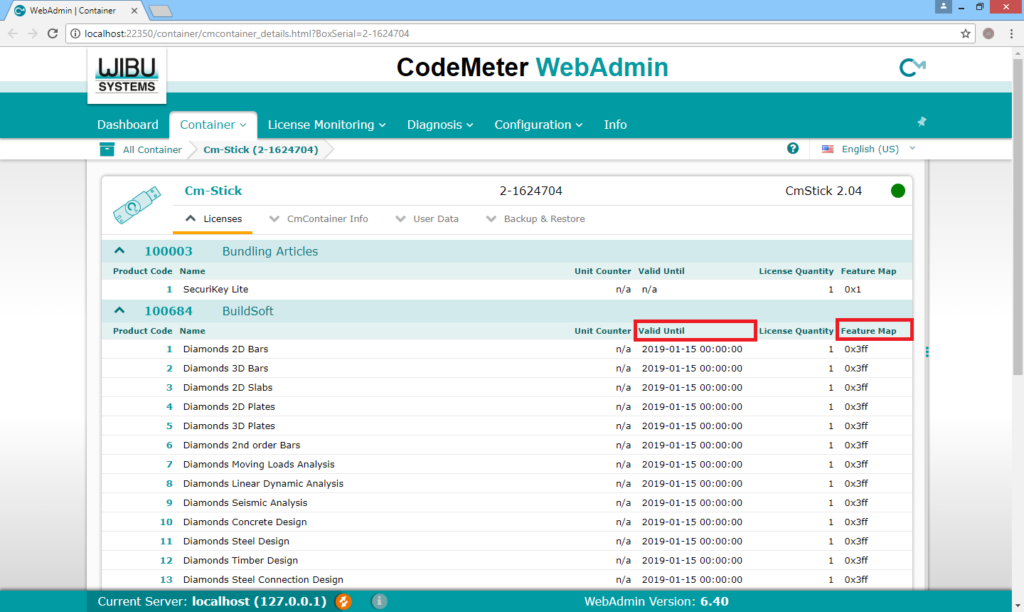
- Take a printscreen of this page. If needed, zoom out so you can see the entire list. If the list is too long, take 2 print screens. BuildSoft has to be able to read the content your printscreen!
Send the info to BuildSoft
- Paste the printscreen(s) in an email and send it together with the context file to support@buildsoft.eu.

