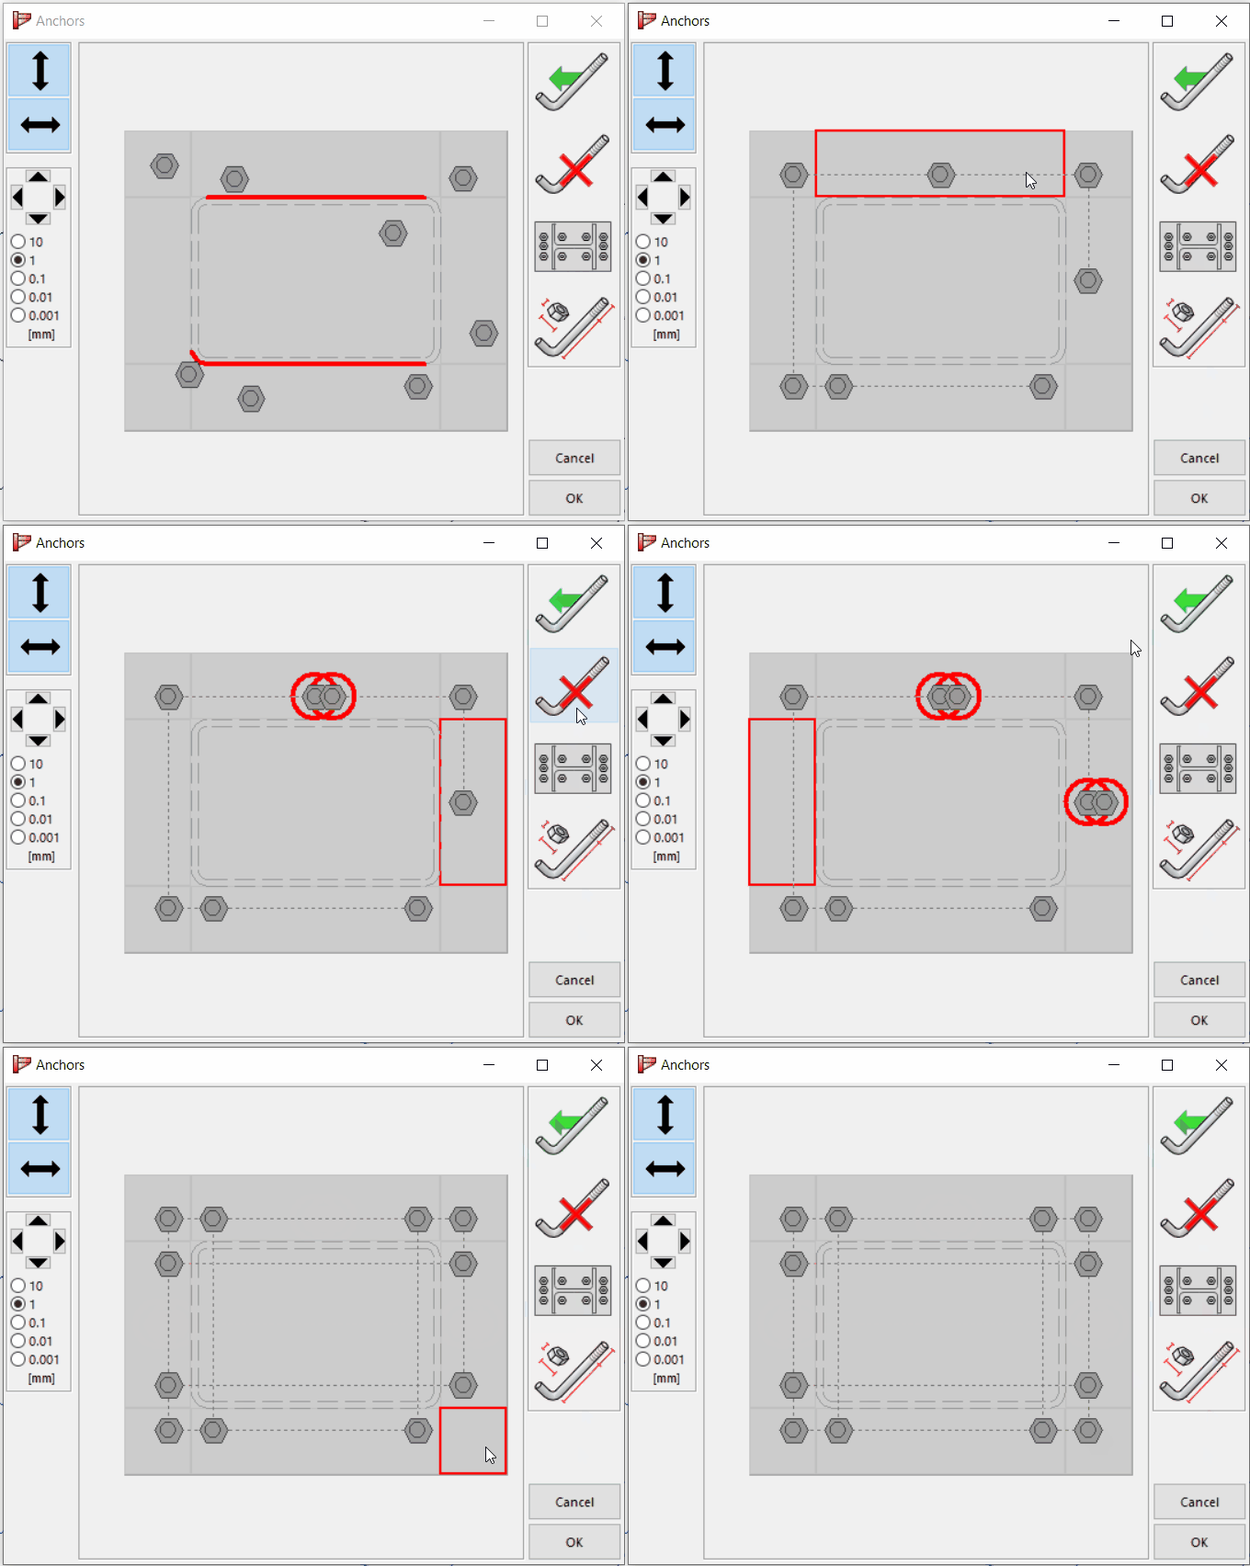
The bolt/anchor position dialog window comes in 2 styles
- a classic style, used for most Eurocode and IS connections
- a new style, used for most AISC connections and some Eurocode connection (column base with RHS or SHS cross-section & bolted pipe splice)
Classic style bolt dialog
To modify the bolt or anchor positions in PowerConnect, you need first we open the bolt dialog by double clicking a bolt or anchor. This window is also known as the classic bolt dialog. There are 3 possibilities to position the bolt:
- Move the bolts with the mouse.
- Enter the exact bolt position value
- Let the software position the bolts with a layout of minimal or optimal spacing
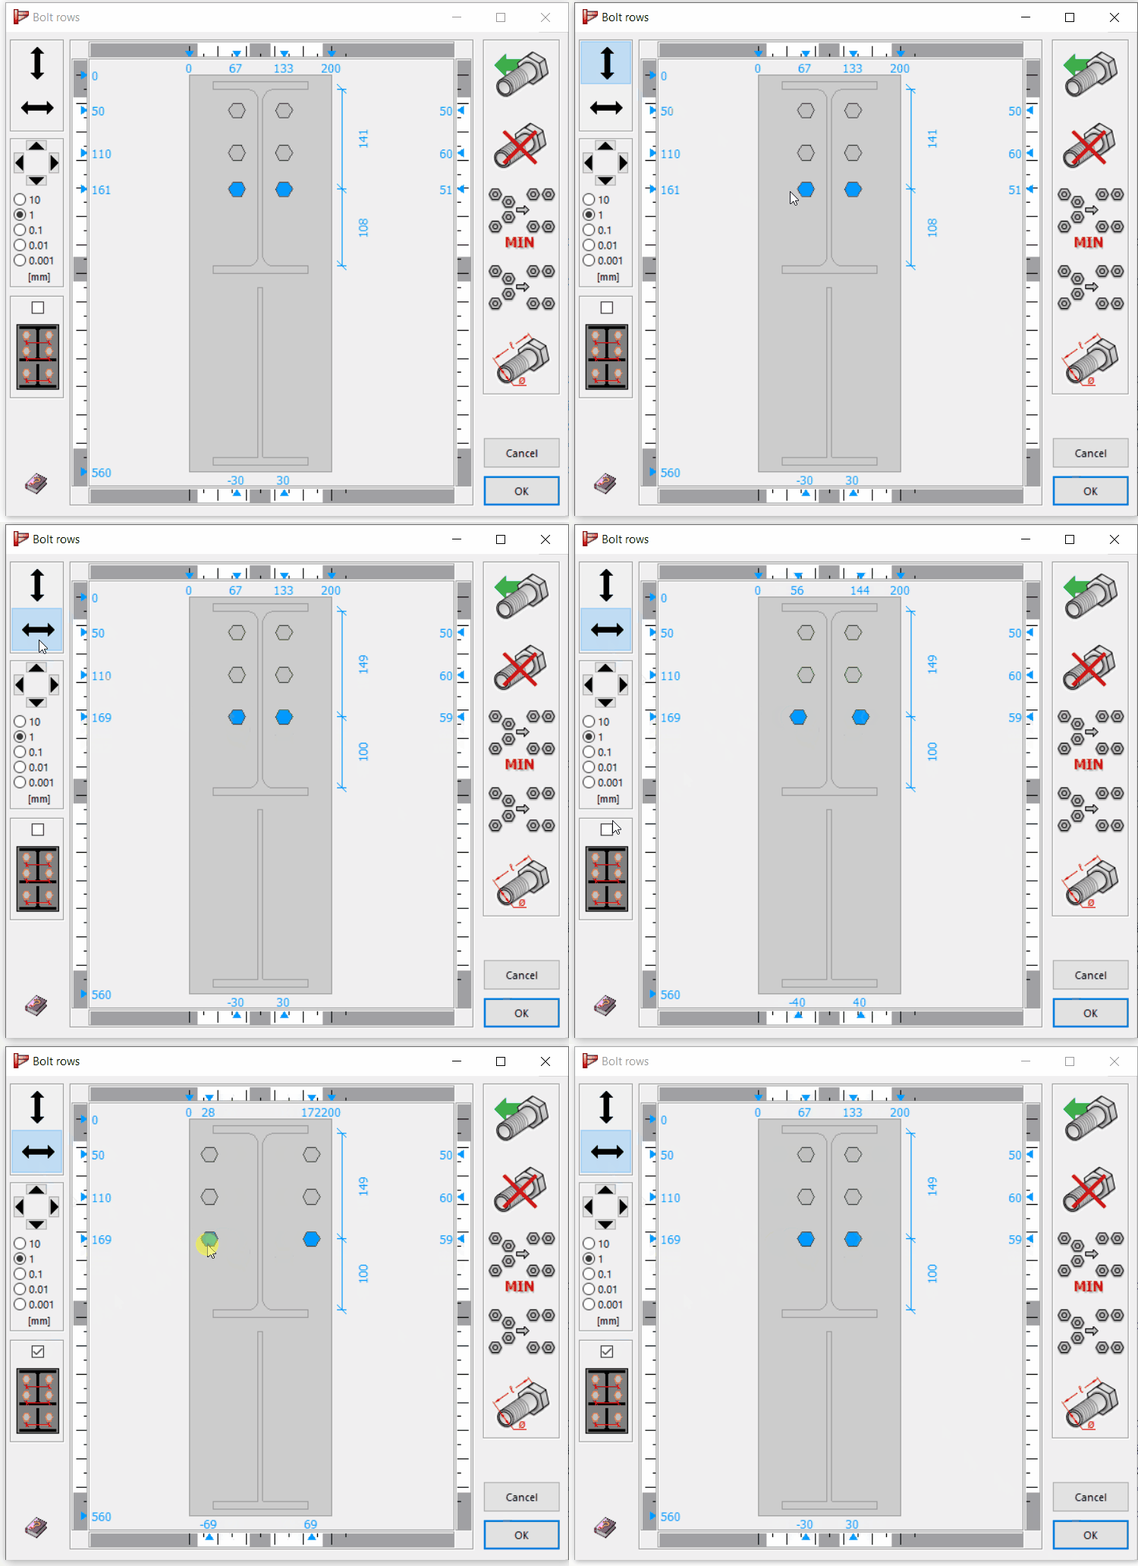
Let’s go over these options in detail: First one is to move the bolts with the mouse: In almost all bolt dialogs is is not possible to move the bolts freely. That means you have to choose to move them or vertically or horizontally. For horizontal position, you can opt to move all bolt rows together.
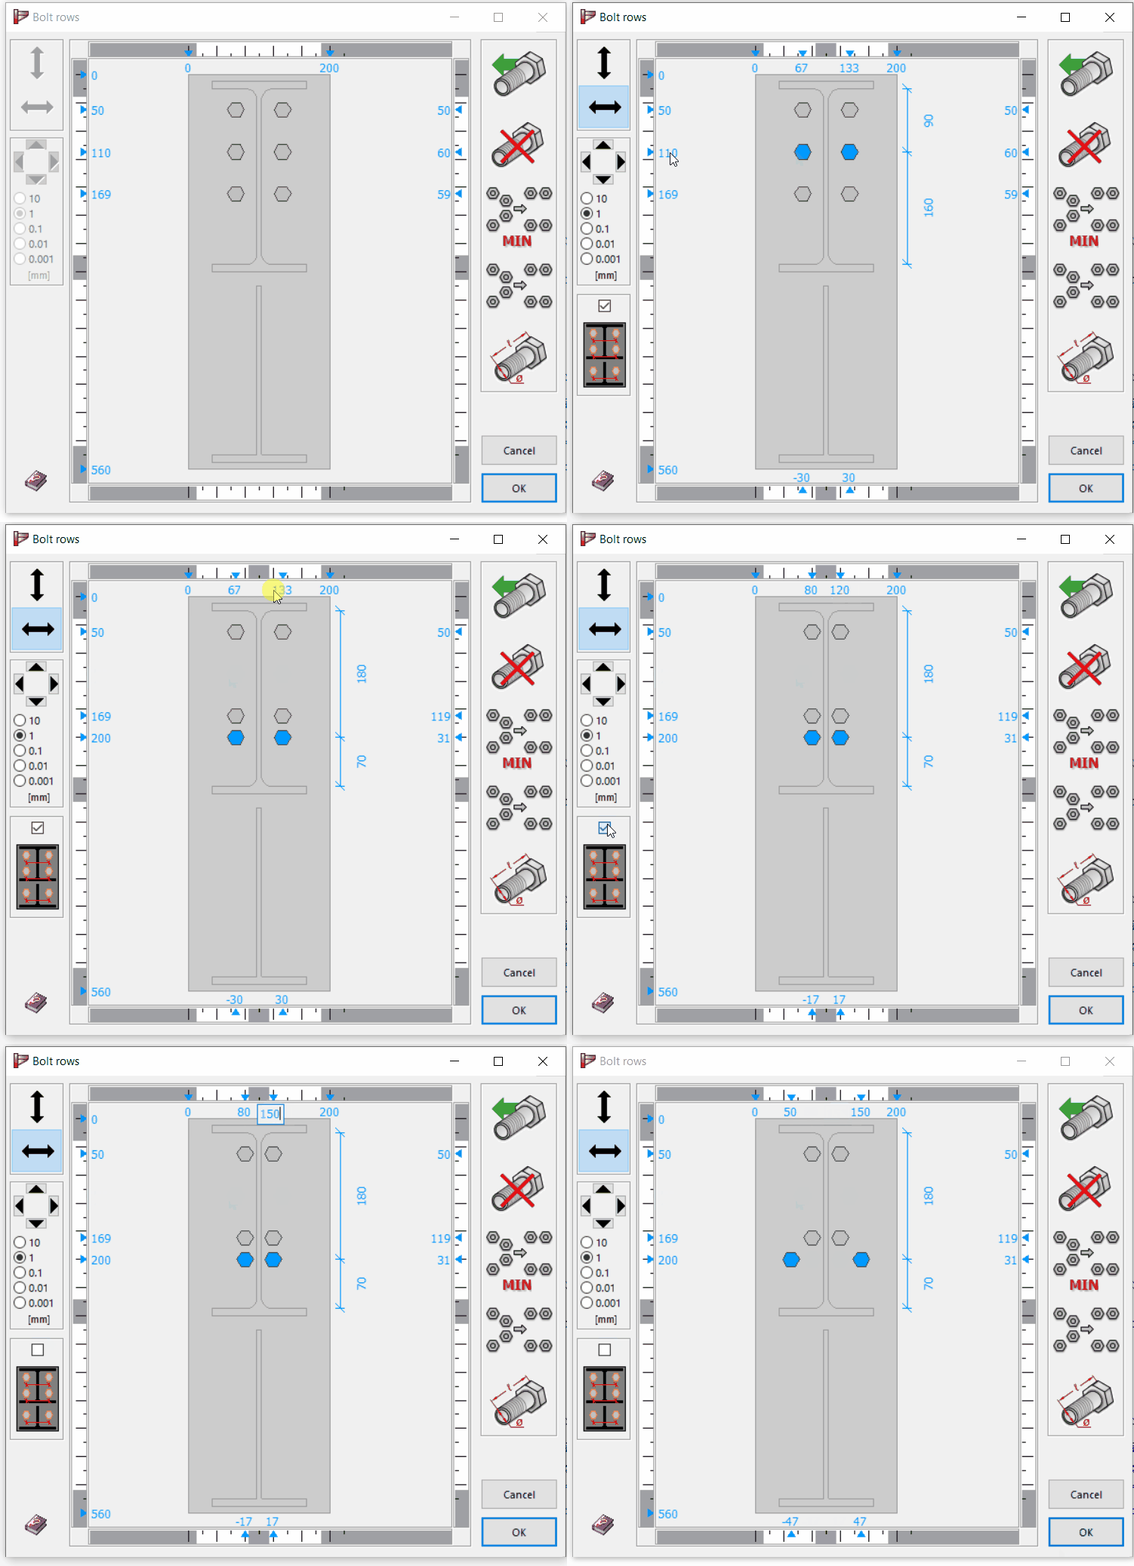
Second possibility is to enter the exact bolt positions, horizontally and or vertically. For horizontal positioning, you can again opt to move all bolt rows together.
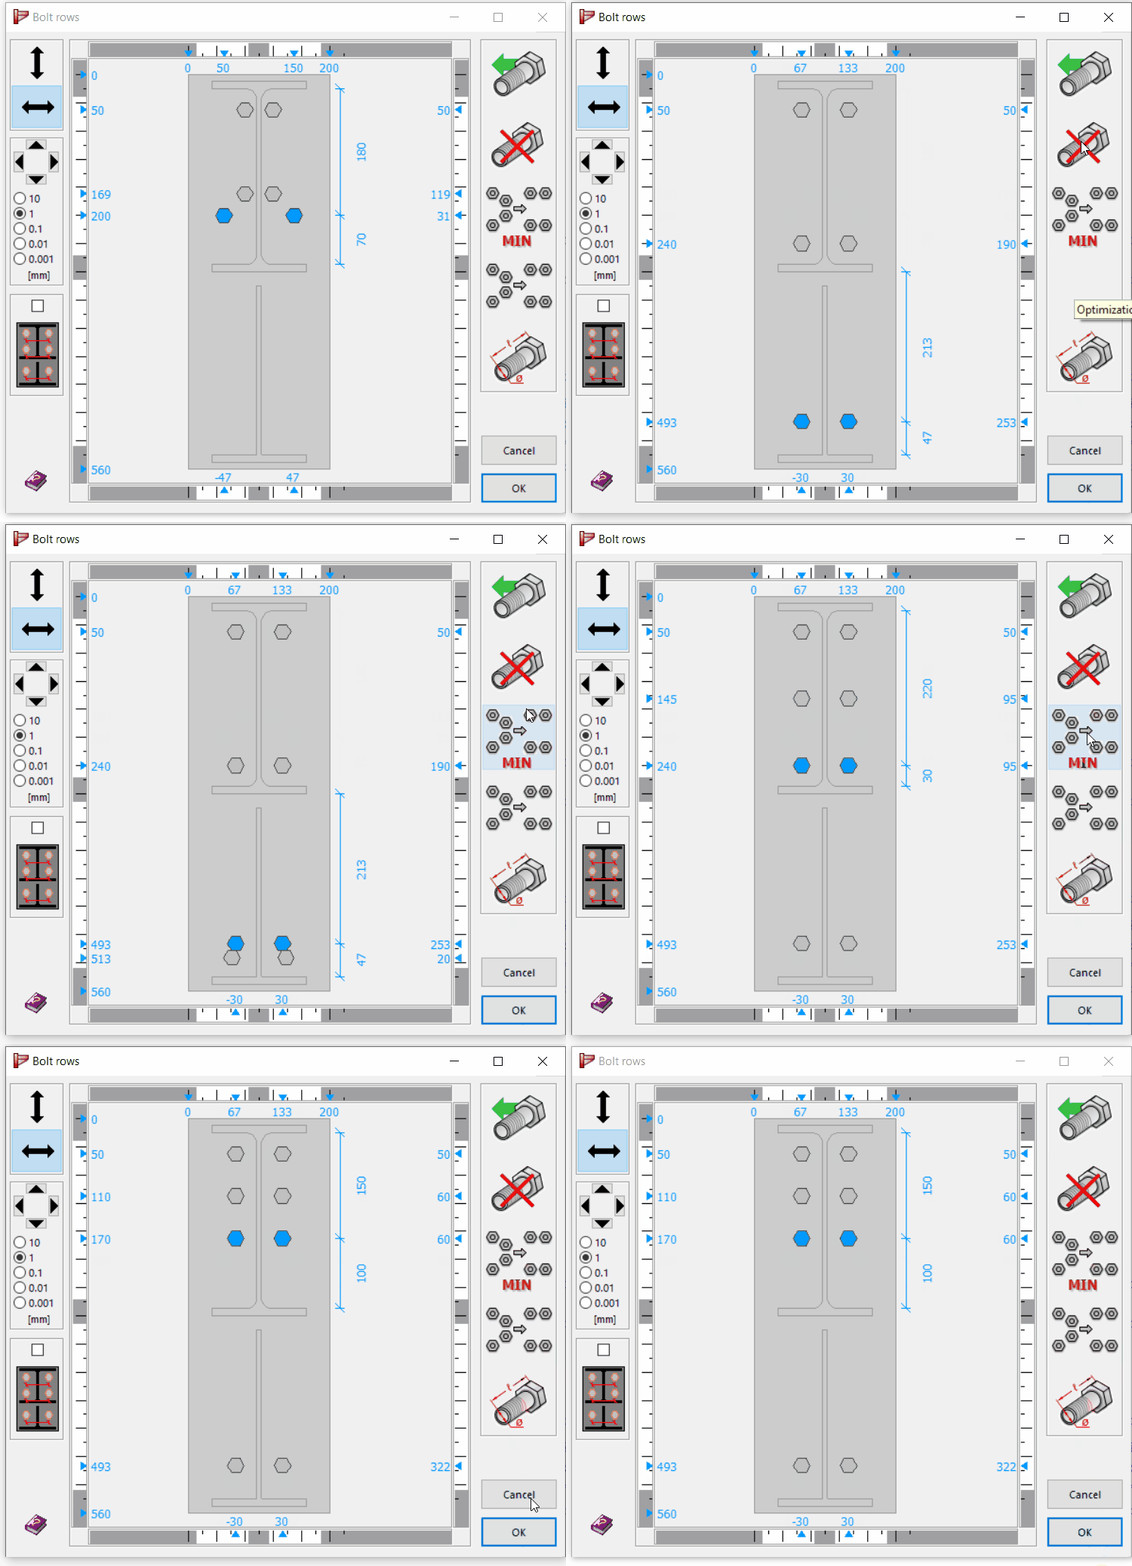
The last option is to let the PowerConnect position the bolts, you can choose here for a minimal spacing between the bolts or having the bolts nicely distributed over the available height.
New style bolt dialog
First we open the bolt dialog by double clicking the bolt or anchor. There are 3 possibilities to position bolts:
- Move the bolts with the mouse.
- Enter the exact bolt position value
- Let the software position the bolts with a layout of minimal or optimal spacing
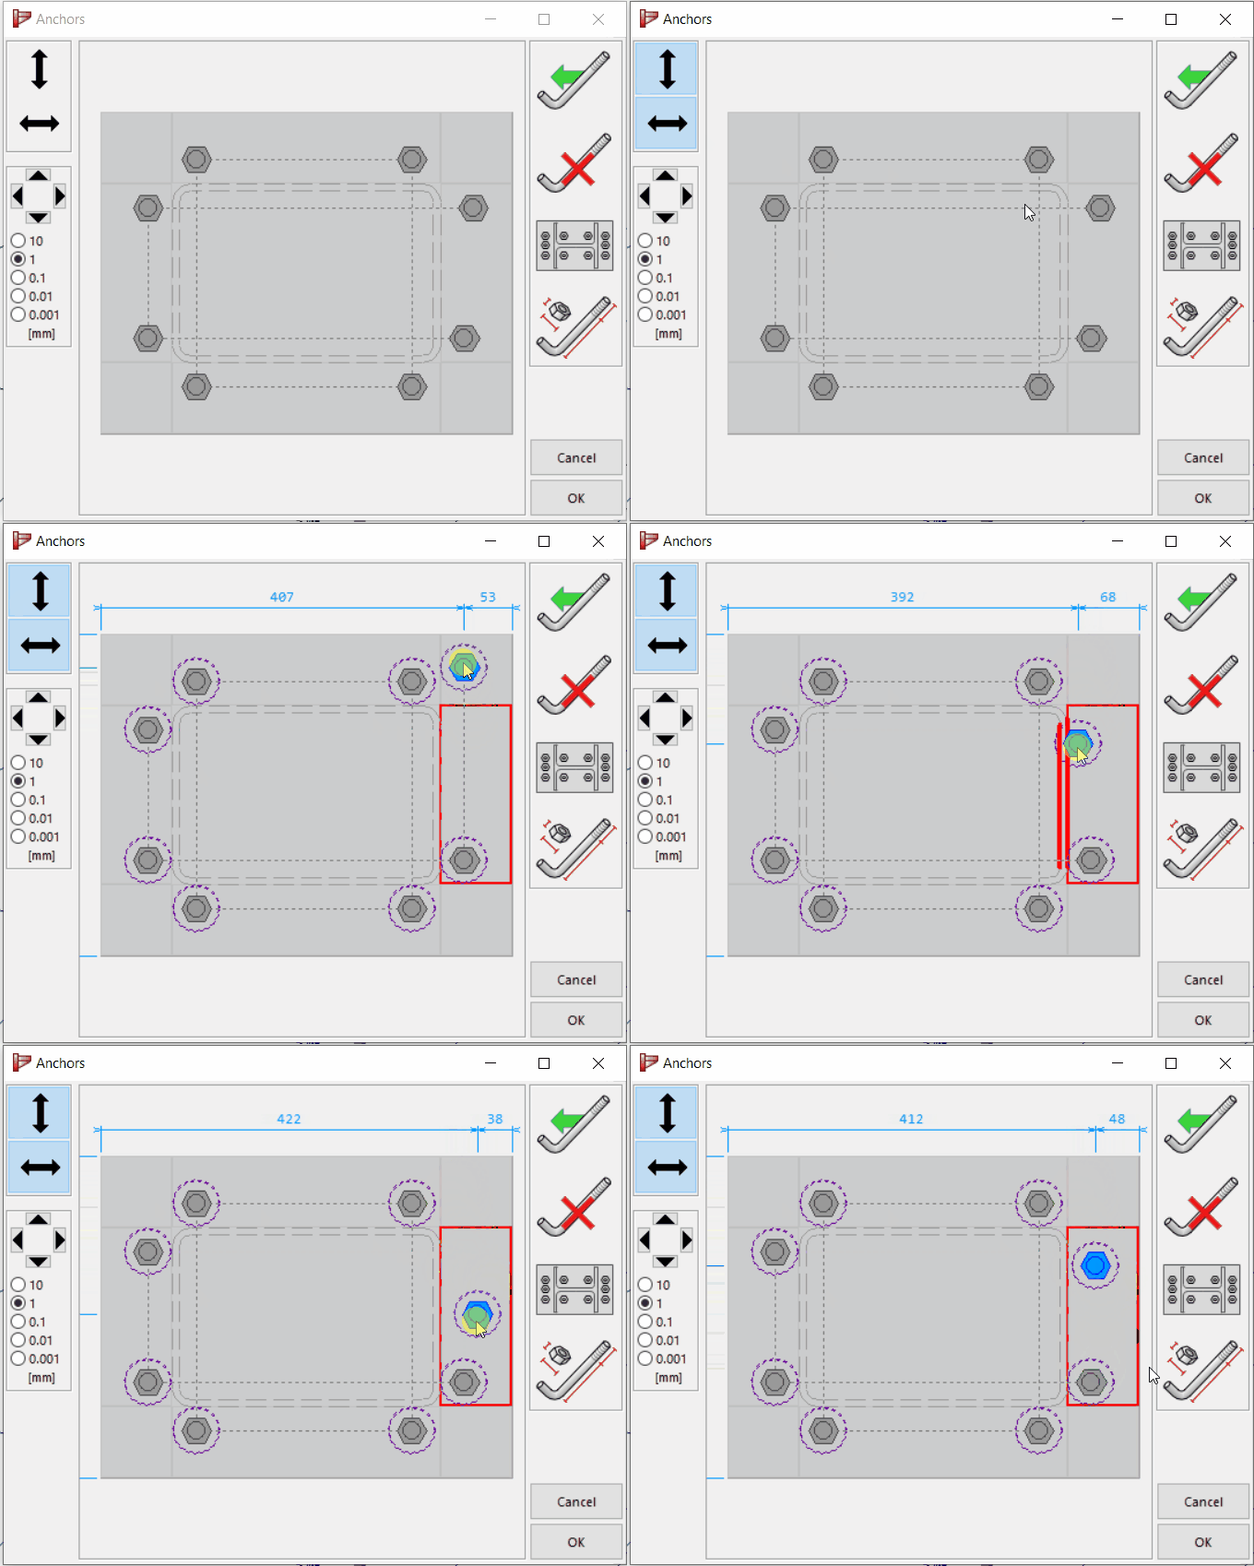
Let’s go over these options in detail: First one is to move the bolts with the mouse: You choose the direction to move in: either horizontally, vertically or both – this last one means that you can move the bolts freely. The dashed circle in purple shows the space needed for this bolt: the minimum distances to be respected: the spacing between bolts or anchors and the construction diameter, needed for correct installment of the bolts.
Once you move the bolts, including their needed space circle, to close to each other or to close to the plate border, beam or column element, there is an automatic clash detection shown in red. Other bolt positions act like magnetic points, so once you are close by, PowerConnect proposed to align with the existing bolts.
Second possibility is to enter the exact bolt positions, horizontally and/or vertically. For horizontal positioning, you can again opt to move all bolt rows together. 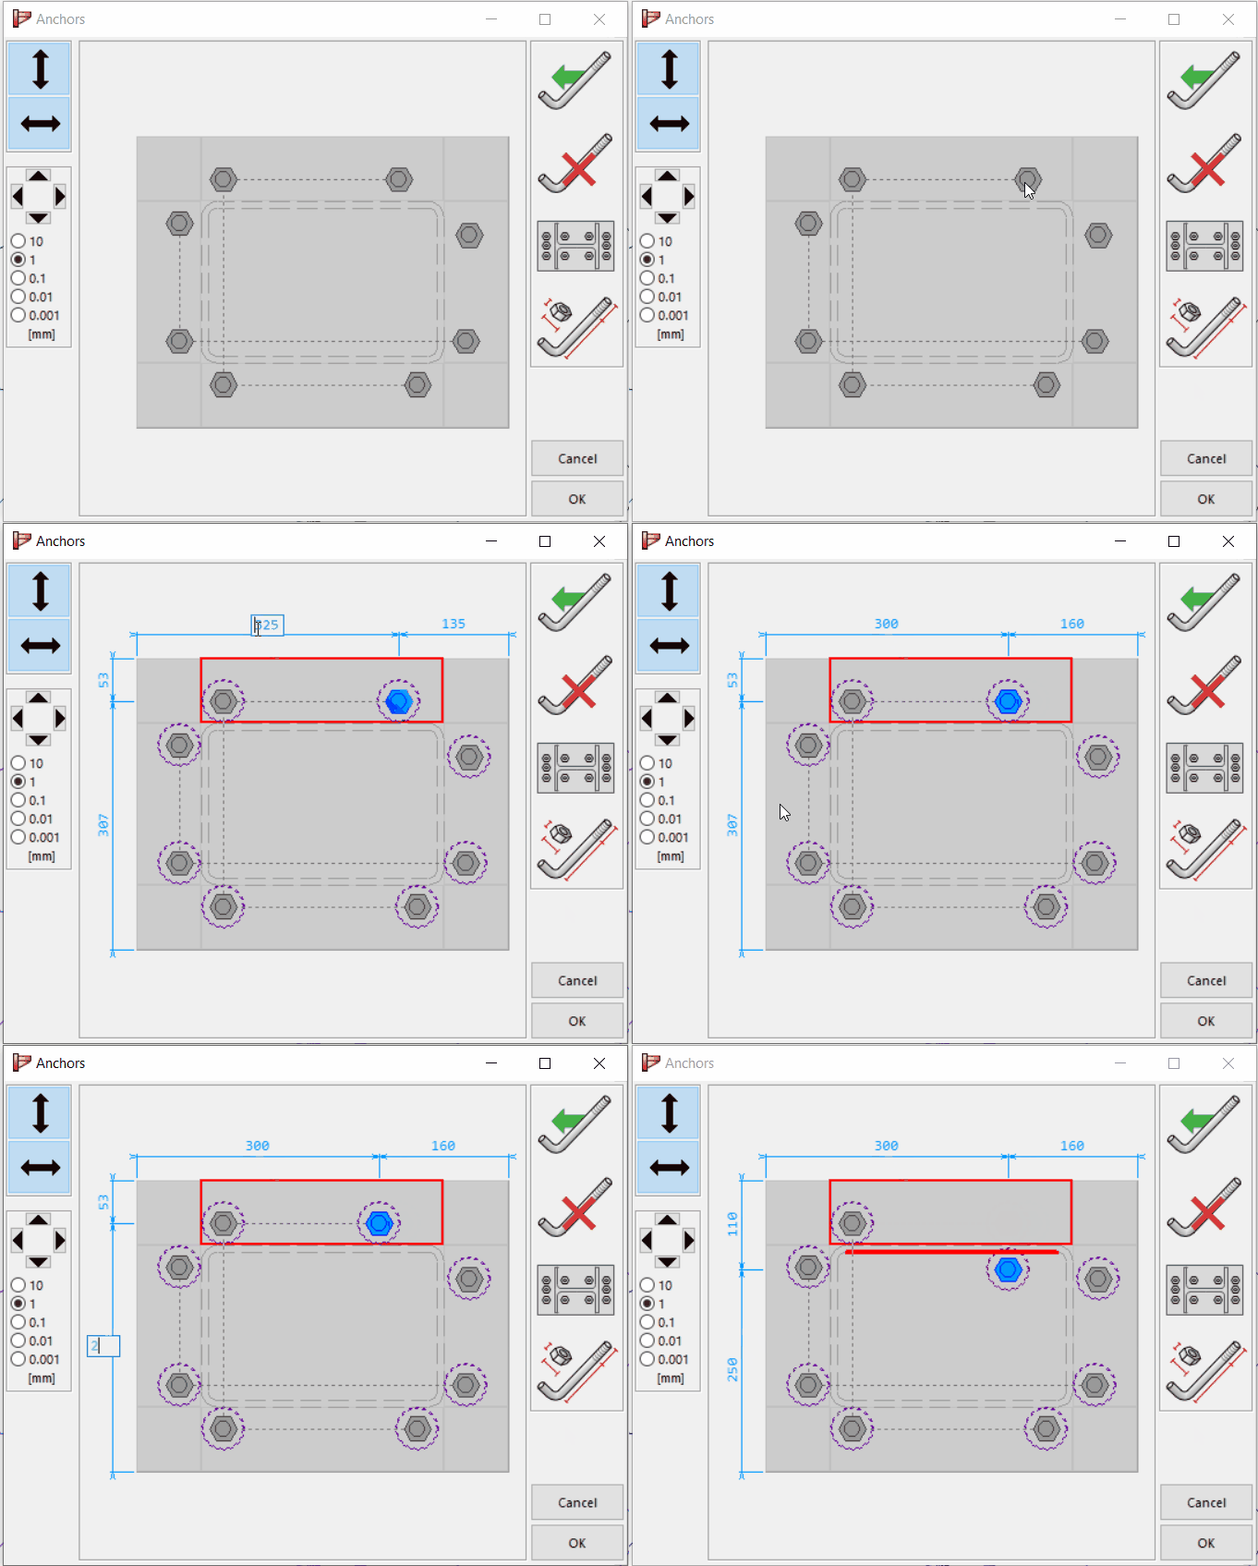
The last option is to let the PowerConnect position the bolts, you can choose here for a minimal spacing between the bolts or having the bolts nicely distributed over the available (base) plate height.
