First thing you need to do is provide enough space on the end plate so that the bolted can be placed. Double click the end plate and set both upper extension large enough (for example 80mm).

You immediately see that there is now possibility to place the bolts in this area. Double click the bolts to edit them. Now you can add move the bolts manually or let the software optimize the bolt positions.
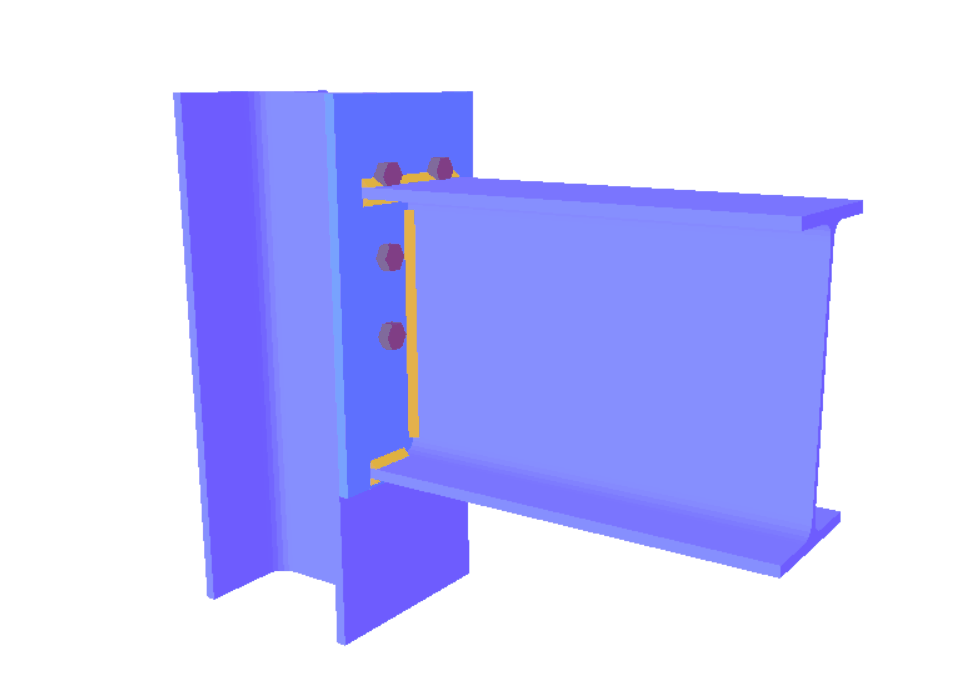
In a similar way, you can place bolts in below the lower flange: first provide enough space on the end plate by enlarging the lower extension. Next move the bolts to that new zone.
Note that PowerConnect currently only allows 1 bolt row outside the beam’s flanges
