There are two methods:
- The first method is used for vessels with vertical walls
- The second method is mainly used for vessels with curved walls
Method 1
- Enter the perimeter of the vessel in a top view.
- You can use the drawing function
 .
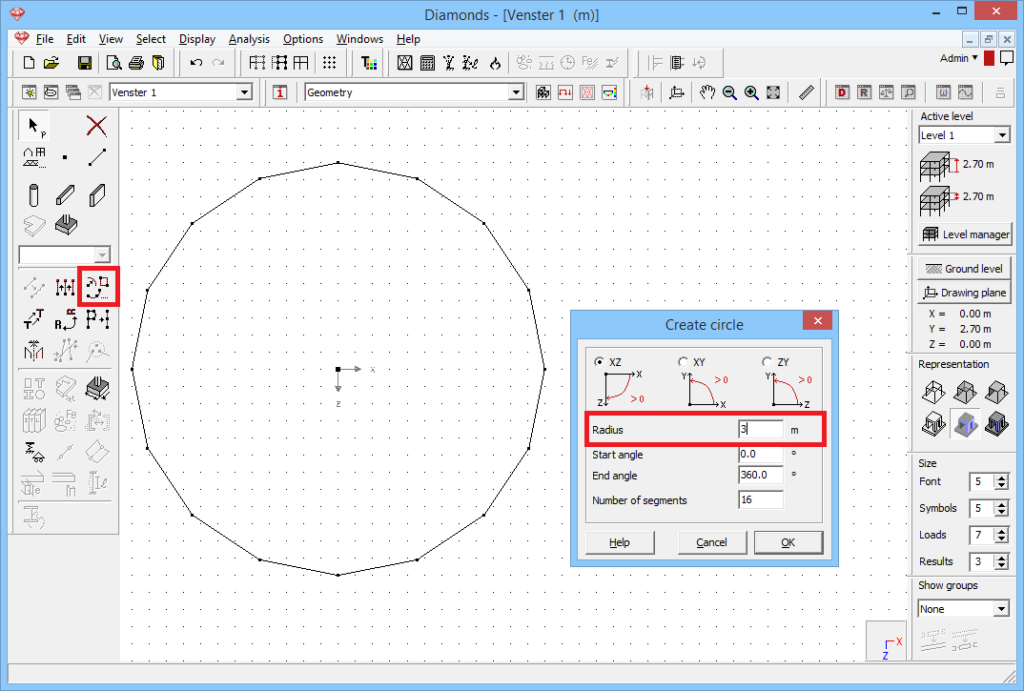
. - You can use the tool for parametric shapes (circle and rectangle)
 .
. - Or you can import a dxf-file.
No matter with tool you use, make sure the perimeter is not too detailed. Avoid lines smaller than 10 cm.
For example, a circle with radius 3m and 16 divisions.
- You can use the drawing function
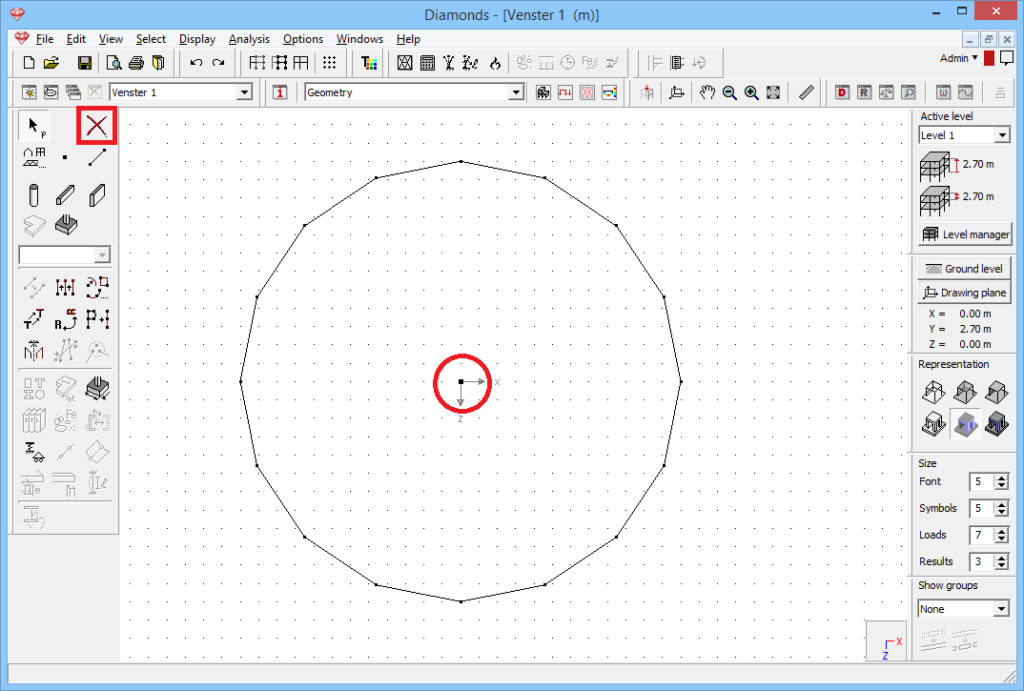
- Remove the center point.
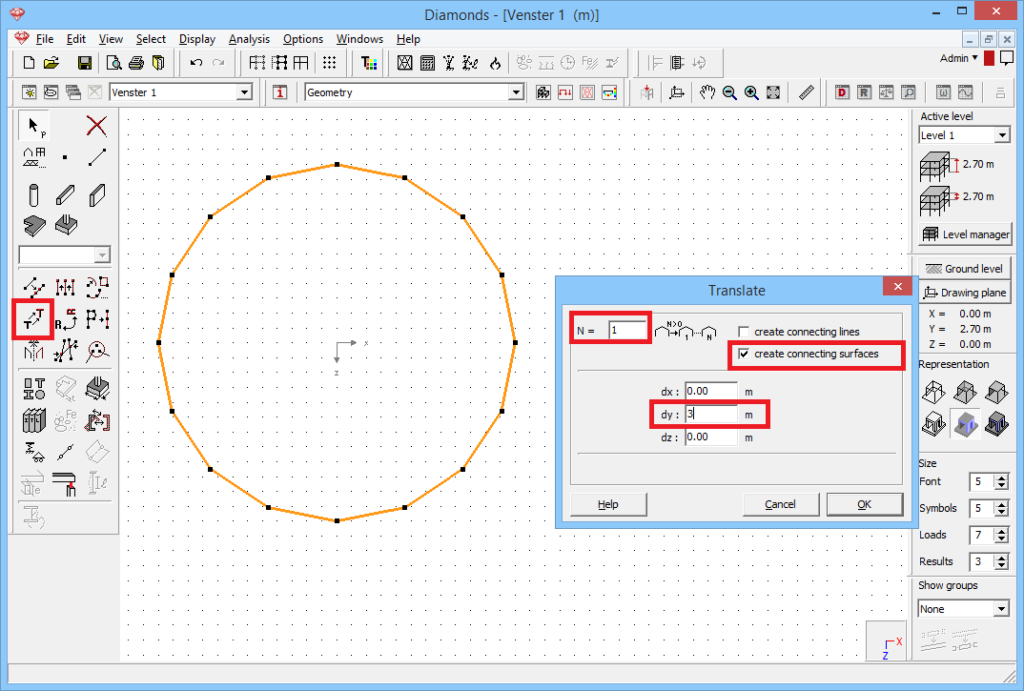
- The next step is copying the perimeter.
- Select the perimeter.
- Click on
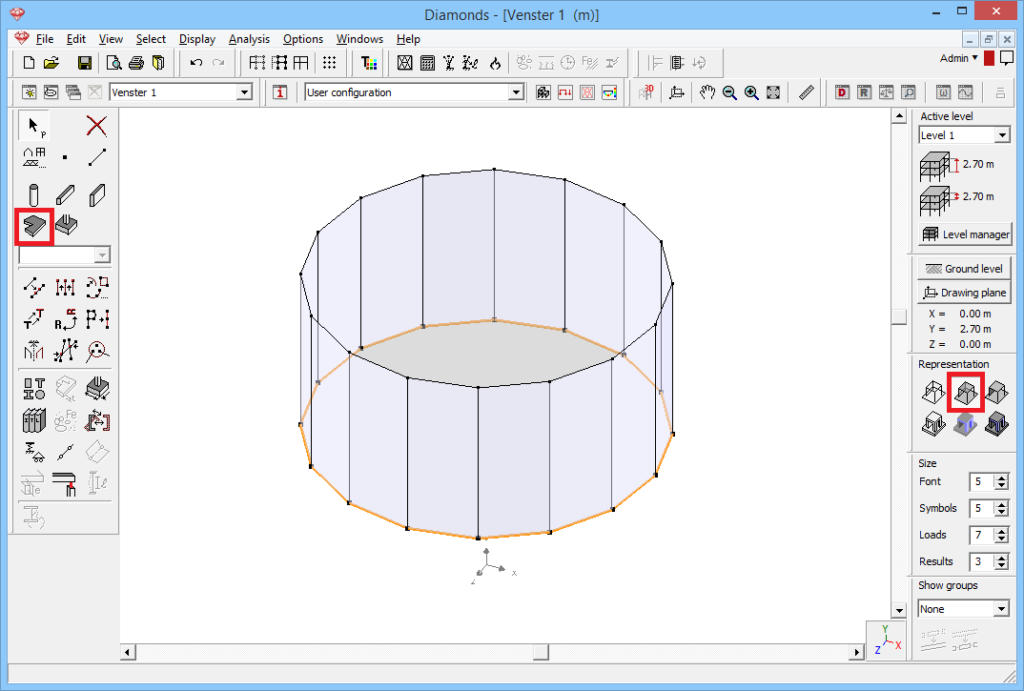
 . Ask one copy. Specify the distance. Here 3m. And don’t forget to generate the connecting surfaces. Click ‘OK’.
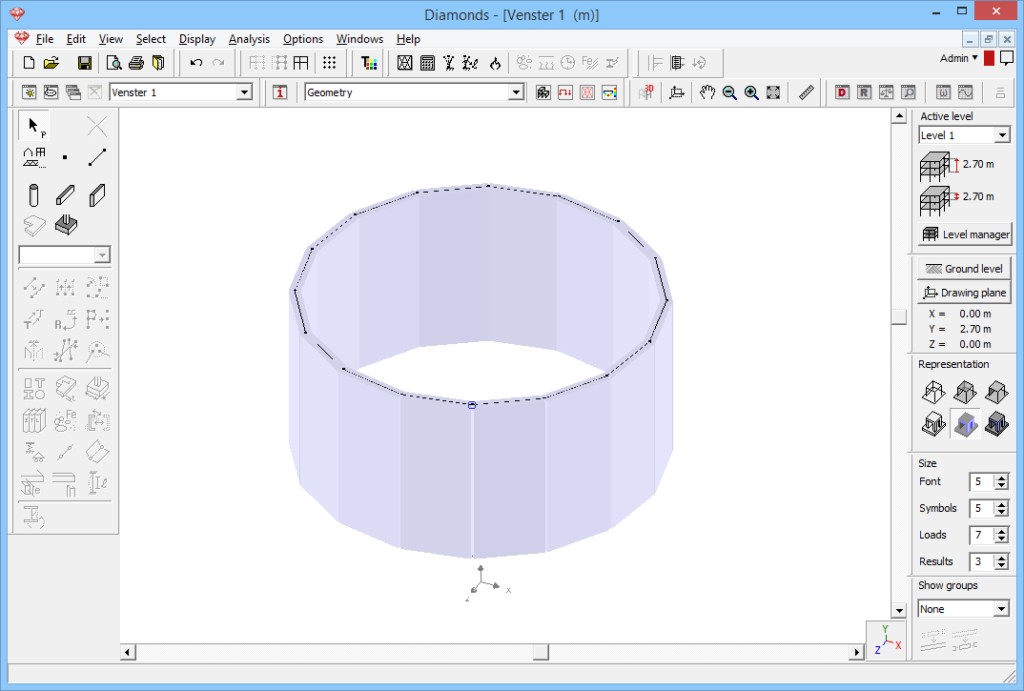
- Change the section and material of the walls as desired with
 .
.
- The final step is generating the baseplate.
- Select the lower perimeter and click on
 to generate a plate.
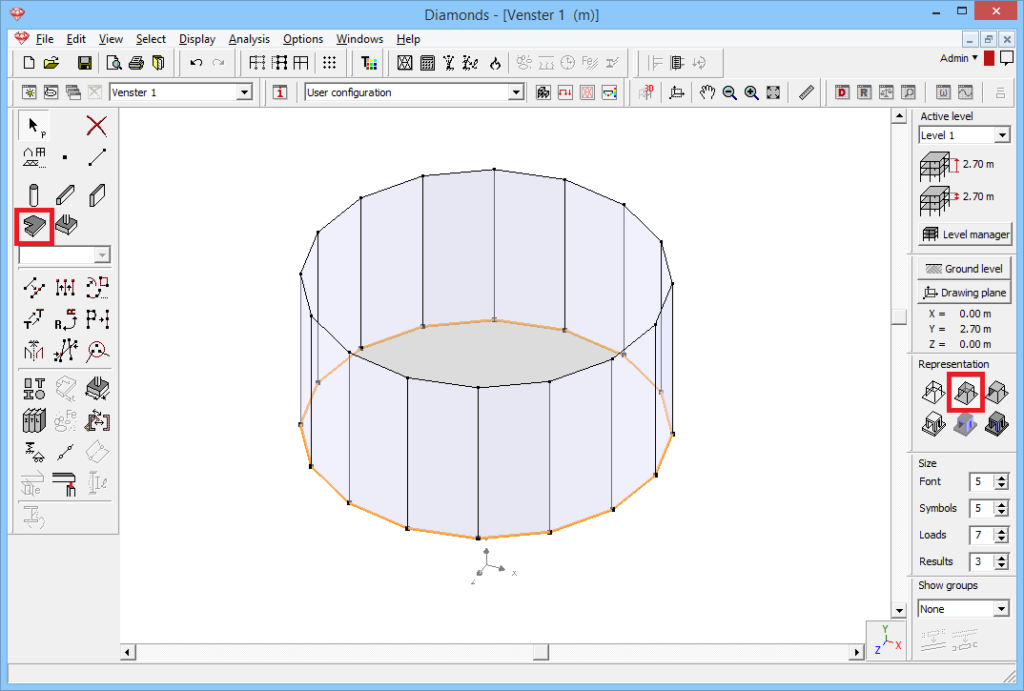
- Change the section and material of the baseplate as desired.
- After assigning supports and loads, this model can be calculated.
- Select the lower perimeter and click on
Method 2
- Enter the perimeter of the vessel in a front view.
- You can use the drawing function
 .
. - You can use the tool for parametric shapes (circle and rectangle)
 .
. - Or you can import a dxf-file.
No matter with tool you use, make sure the perimeter is not too detailed. Avoid lines smaller than 10 cm.
For example, this curve imported using a dxf file.
- You can use the drawing function
- The next step is copying the perimeter.
- Select the wall shape.
- Click on
 . Ask 16 copys, select the rotation plane (XZ), and specify the angle (22.5° = 360°/16).Don’t forget to generate the connecting surfaces. Click ‘OK’.
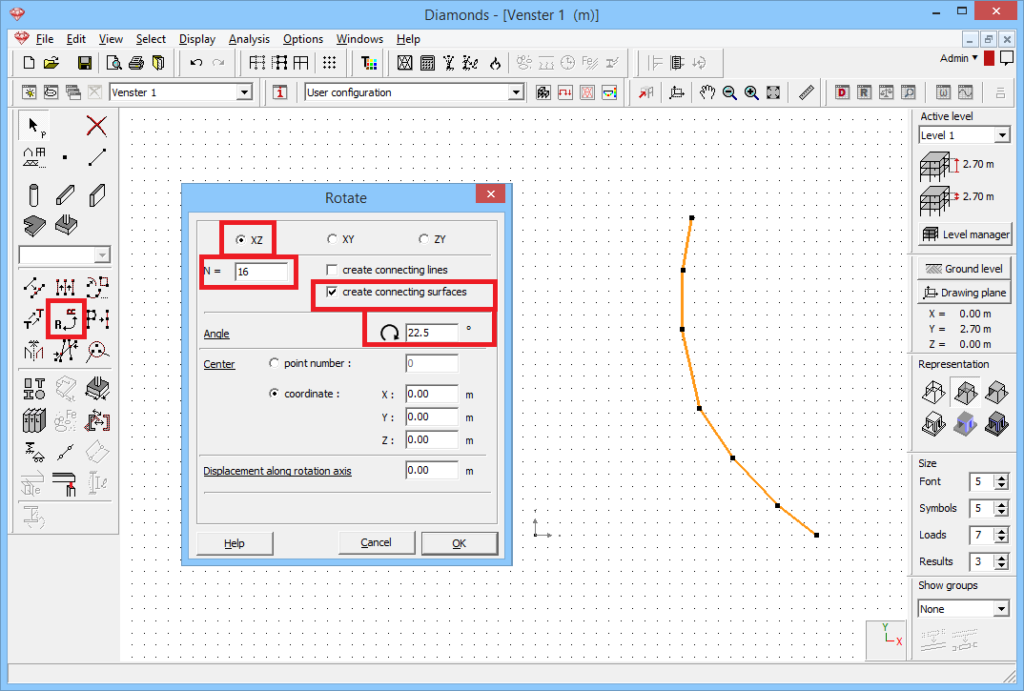
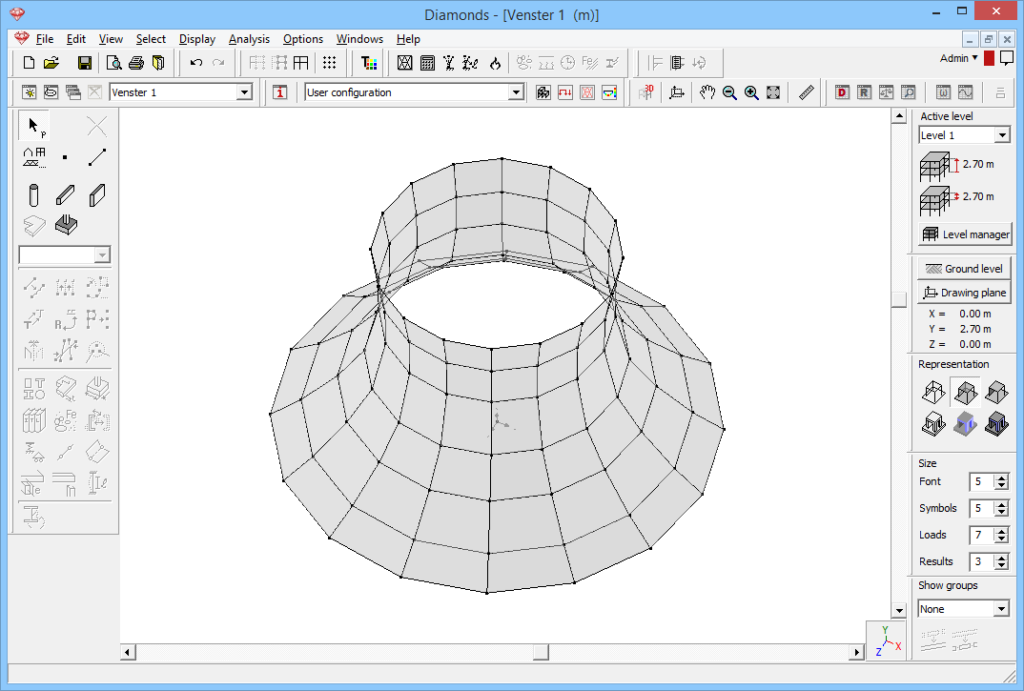
- Change the section and material of the walls as desired.
- The final step is generating the baseplate.
- Select the lower perimeter and click on
 to generate a plate.
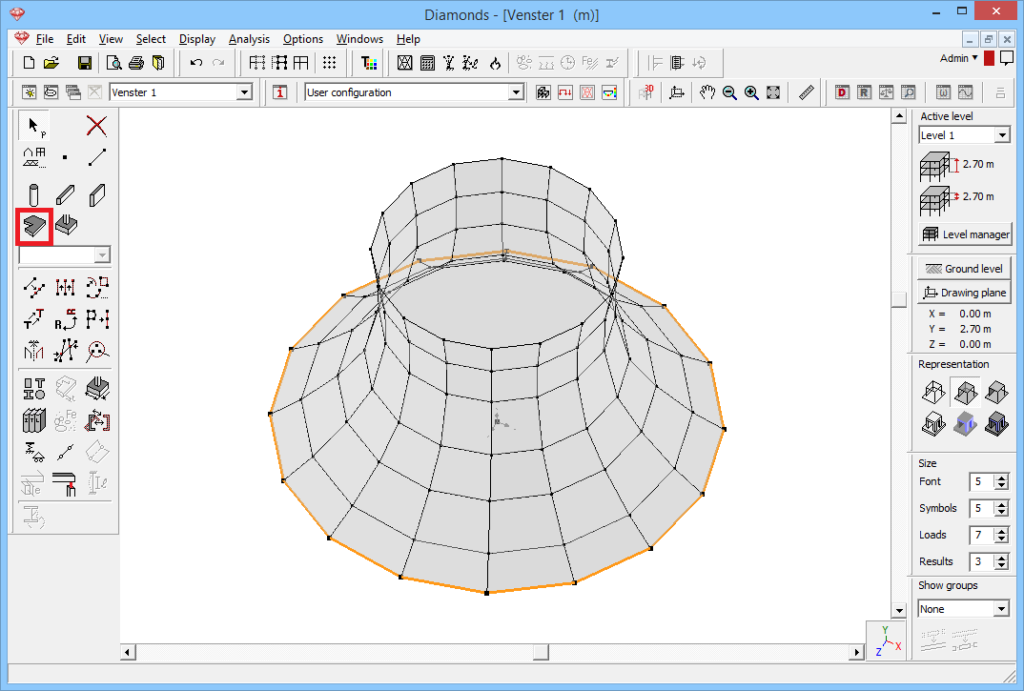
- Change the section and material of the baseplate as desired.
- After assigning supports and loads, this model can be calculated.
- Select the lower perimeter and click on

