This article explains how to send a Tekla Structural Designer model to ETABS, using BIM Expert.
1. Preparation in Tekla Structural Designer
The conversion is based on the .cxl file format. The .cxl file format is an XML based neutral file format that allows applications to link with Tekla Structural Designer. Tekla Structural Designer accepts and produces files in the .cxl neutral file format.
- Create the model as usual.
- On the BIM Integration tab, click Autodesk Revit Export. The BIM Integration wizard opens.
- Adjust the location and rotation of the model, and click ‘Next’.
- Select the items that are included in the model, and click ‘Next’.
- Specify the export names of material grades, and click ‘Next’.
- Specify the file name and location.
- Select whether the file is exported for the first time, or whether you want to update an existing model.
- Click ‘Finish’.
2. Send model from Tekla Structural Designer to ETABS
2.1 From Tekla Structural Designer to BIM Expert
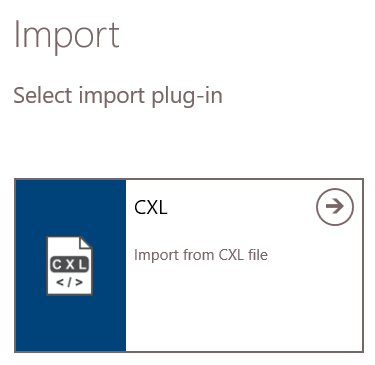
In the Model tab, select ‘Import’. Next, choose ‘CXL’. Click ![]() to continue.
to continue.
The model is now in BIM Expert.
2.1.1 Material & section mapping
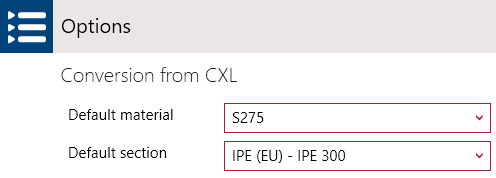
Most common materials and sections are mapped according to the TSD neutral file mapping conventions. If there is no match found, a default section and material will be applied. You can specify these defaults in ‘File > Settings > CXL’
2.2 From BIM Expert to ETABS
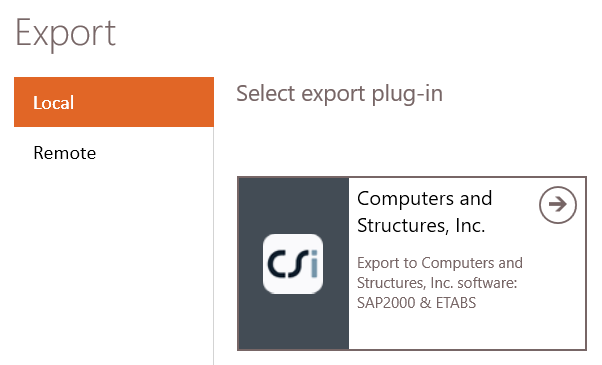
In the Model tab, select ‘Export’. Next, choose the destination software manufacturer, namely ‘Computer and Structures, Inc’ (CSI). Click ![]() to continue.
to continue.
Choose ‘ETABS’
2.2.1 Settings
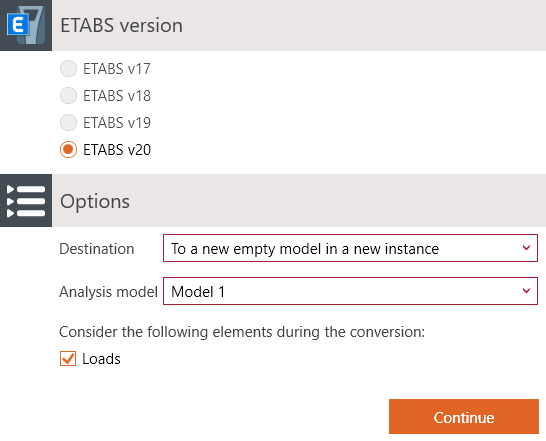
Select your ETABS version, the destination and analysis model. The destination can be either:
- To a new empty model in a new instance
- To current instance and new empty model
ETABS will launch automatically in case of ‘new instance’ choice.
Next, the BIM Expert sections and materials must be mapped with ETABS’ section and materials. BIM Expert will try to find as many automatic mapping matches as possible. In case all sections and materials find a match, you will not see any dialogs for mapping.
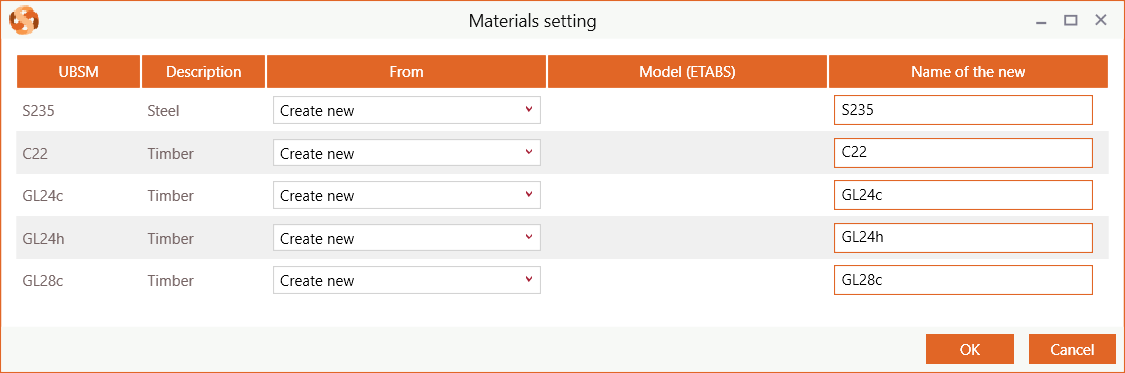
2.2.2 Material mapping
In a new file, ETABS only has 2 materials present: Steel S355 and Concrete 30/37. Chances are real that you see the material mapping dialog. If you cannot find a suited counterpart in the ETABS model, the material can be added as new.
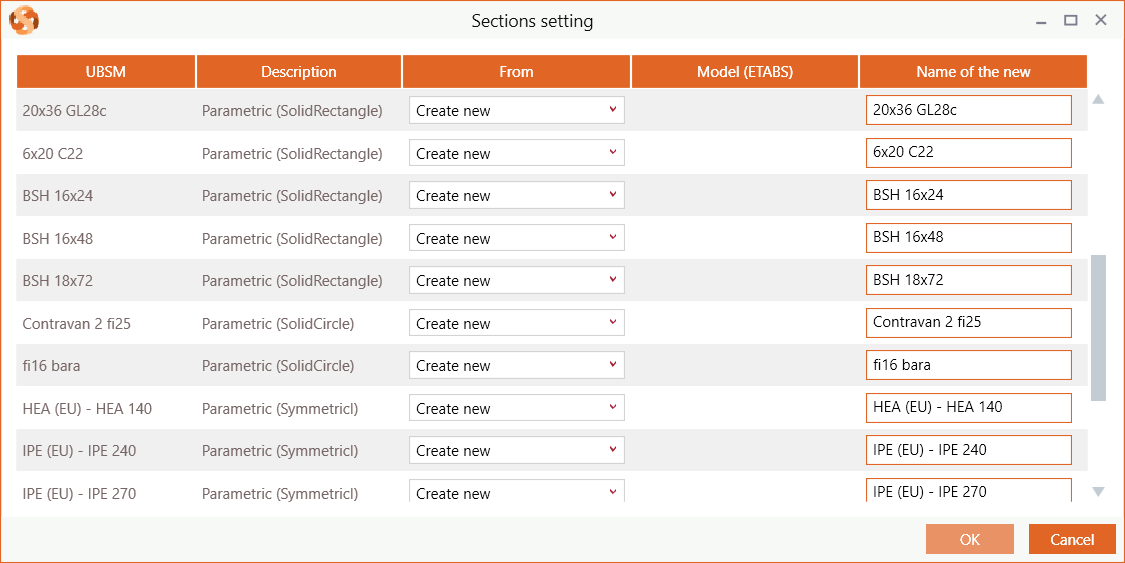
2.1.3 Section mapping
A new ETABS model has no cross-sections. So all will be added as new.
3. Final steps in ETABS
Depending on the chosen destination: launch ETABS and open the file. Or continue working in the open version of ETABS.
