This article explains how to send a Revit model to Tekla Structural Designer, using BIM Expert.
1. Preparation in Revit
The transfer is based on the analytical model. So in Revit you need to create an analytical model first. The quality and coherence (connection between elements) of the analytical model will determine the quality of the structural calculations. It is therefore essential to build a good analysis model in Revit.
You can either use the Analytical Automation command or manually create analytical elements.
Learn here how to make a good analysis model in Revit.
2. Send model from Revit to Tekla Structural Designer
2.1 From Revit to BIM Expert
There are 2 ways to send models from Revit to BIM Expert:
- Starting in Revit: in the BIM Expert tab page, select ‘Export’.

- Starting in BIM Expert: click ‘Model > Import’ and select the Revit plugin. In case you have multiple Revit models open, BIM Expert will ask to select your model to be transferred.

No matter the way you have chosen, BIM Expert will now take over.
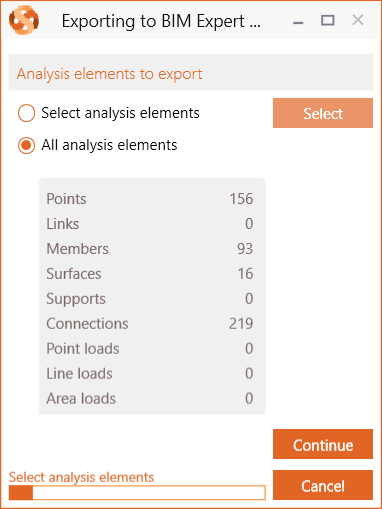
2.1.1 Settings
You can have all (or a selection of) analytical elements exported. All elements is the most likely option.
Next, the Revit sections and materials must be mapped with BIM Expert’s section and material database. BIM Expert will try to find as many automatic mapping matches as possible. In case all sections and materials find a match, you will not see any dialogs for mapping.
2.1.2 Material mapping
Database materials such as steel (e.g. S235, ASTM-Grades), concrete (e.g. C25/30, M50) and timber (e.g. C24, D50, GL28c) are mapped automatically. In some cases, the match is not automatically found, because the name differs (Concrete grade C25 instead of Concrete grade C25/30). In that case, you can select the correct material from the database.
Tip: When searching an item in the database, type the first letters of the name to find it more quickly.
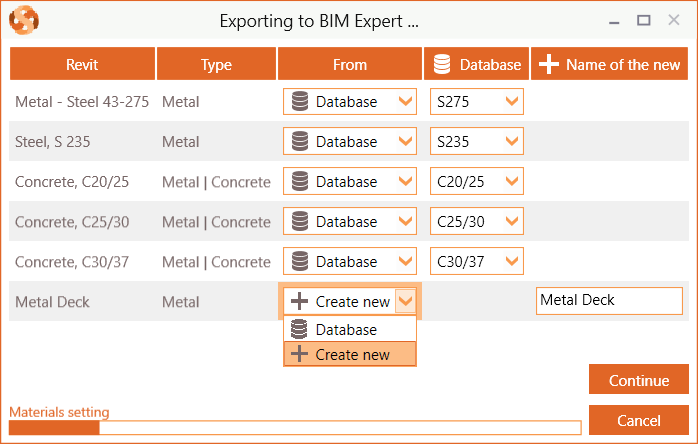
If you cannot find a suited counterpart in the BIM Expert database, the material can be added as new.
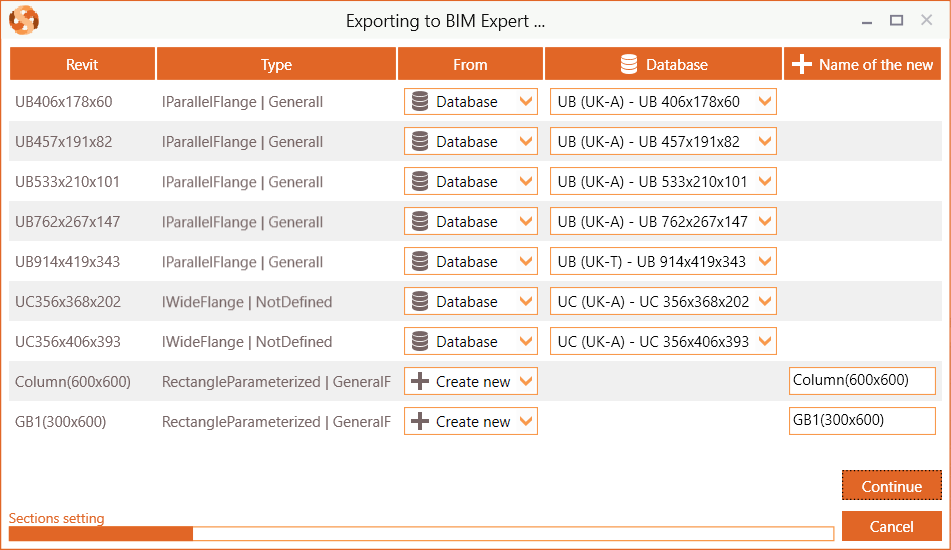
2.1.3 Section mapping
Database sections (such as I, H, UB, UC, W, C, U, O, ☐ and L sections) are mapped automatically. In some cases, the match is not automatically found, because the name differs (e.g. name is HEB300 – S235 instead of HEB300). In that case, you can select the correct cross-section from the database.
Tip: When searching an item in the database, type the first letters of the name to find it more quickly.
Parametric sections (e.g. rectangles, circle, trapezium, …) are not in the database. They should always be added as new.
The model is now in BIM Expert.
2.2 From BIM Expert to Tekla Structural Designer
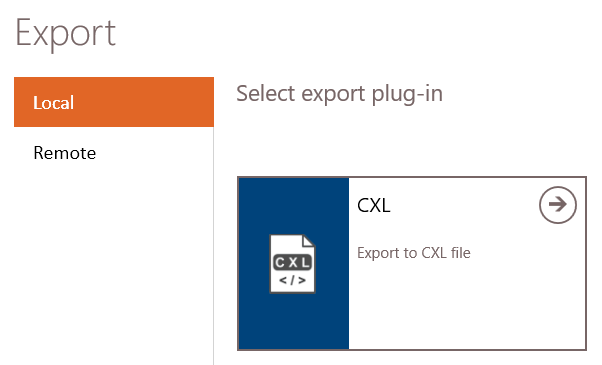
In the Model tab, select ‘Export’. Next, choose the destination, namely “CXL’. Click ![]() to continue.
to continue.
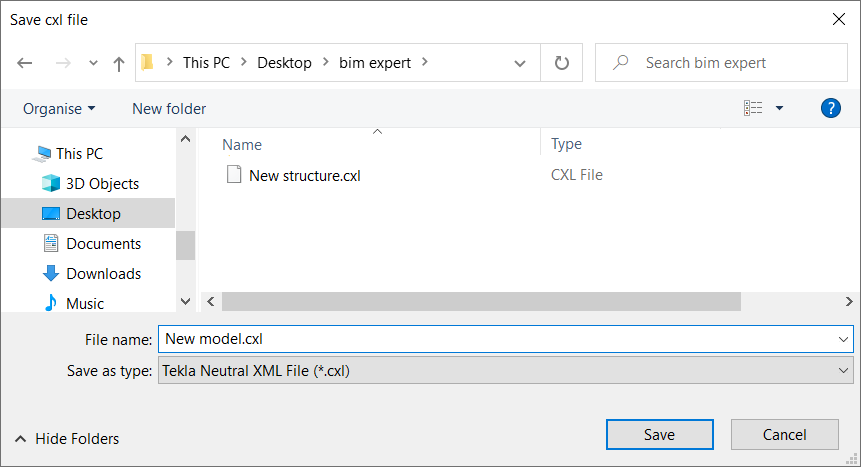
Next, you will be prompted to save the file
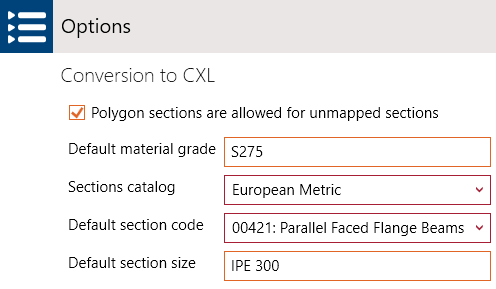
2.2.1 Material & section mapping
Most common materials and sections are mapped according to the TSD neutral file mapping conventions. If there is no match found, a default section and material will be applied. You can specify these defaults in ‘File > Settings > CXL’
3. Final steps in Tekla Structural Designer
- On the BIM Integration tab, click
 Structural BIM Import.
The BIM Integration wizard opens.
