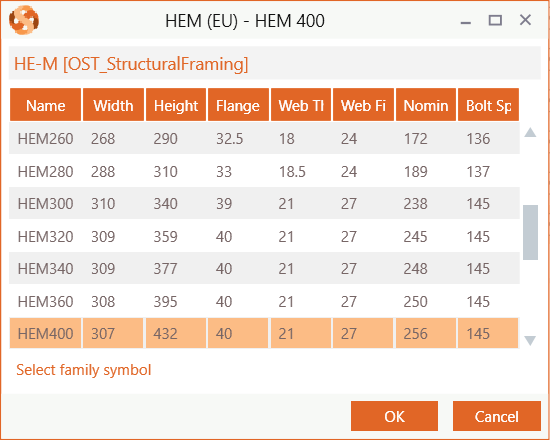
This article explains how to send a model from Diamonds to Revit, using BIM Expert.
1. Preparation in Diamonds
The transfer to Revit will be on geometry and loads. The presence of results is not required.
2. Send the Diamonds model to Revit
2.1 From Diamonds to BIM Expert
In the File menu tab, select ‘Export > Export to BIM Expert’ or simply use F8.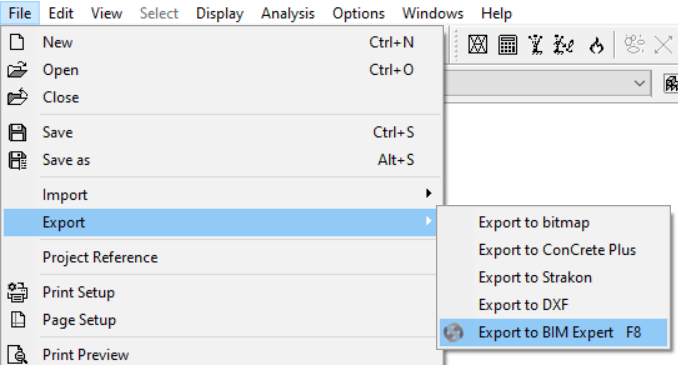 The geometry model is sent to BIM Expert. All sections and materials are automatically converted and transferred, as well as the loads and results (if present). The model is now in BIM Expert.
2.2 From BIM Expert to Revit
As the export is directly to Revit, make sure that you a empty Revit file open.
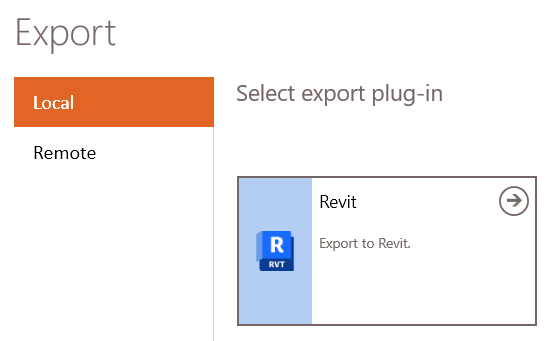
In the Model tab, select ‘Export’. Next, choose the destination software, namely Autodesk Revit. Click ![]() to continue.
to continue.
2.2.1 Settings
In case there is more than 1 Revit file open, you should choose the correct one by clicking ![]()
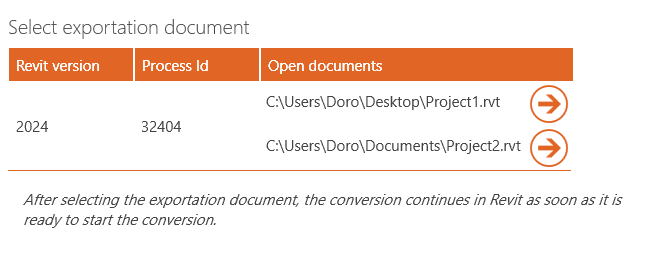
The import will now continue in Revit.
2.2.2 Material mapping
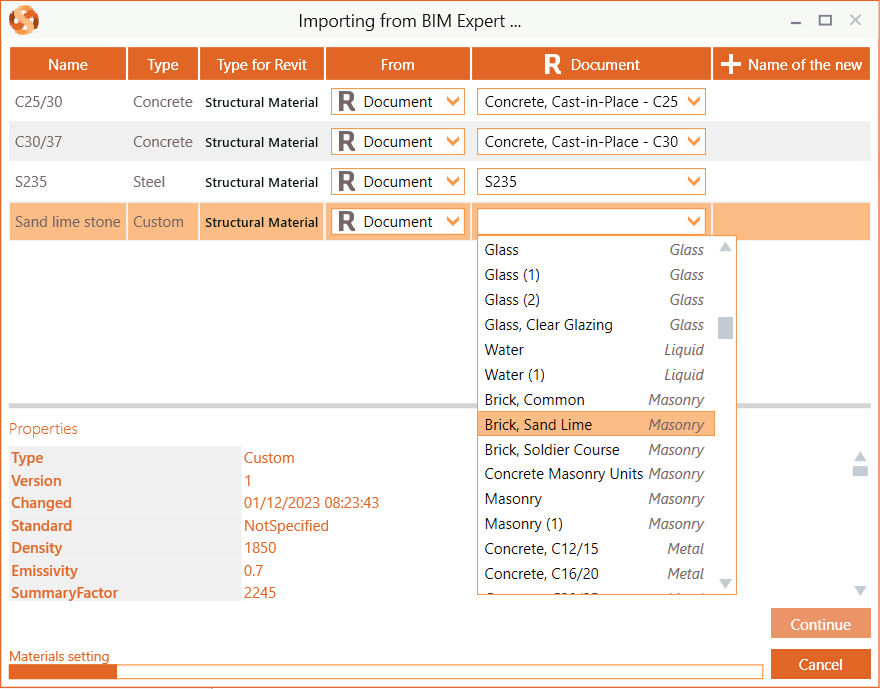
In case not all materials can be automatically mapped with the Revit document materials, you will see a dialog window to map BIM Expert’s materials with Revit’s document materials.
It is good practice to map all incoming BIM Expert materials with Revit document materials. Choose ‘R Document’ and then search for a match in the pull down list. Note that the material should already exist in the Revit material library.
If you cannot find a suited match, you can choose ‘Create New’.
2.2.2 Section mapping
2.2.2.1 Bar sections
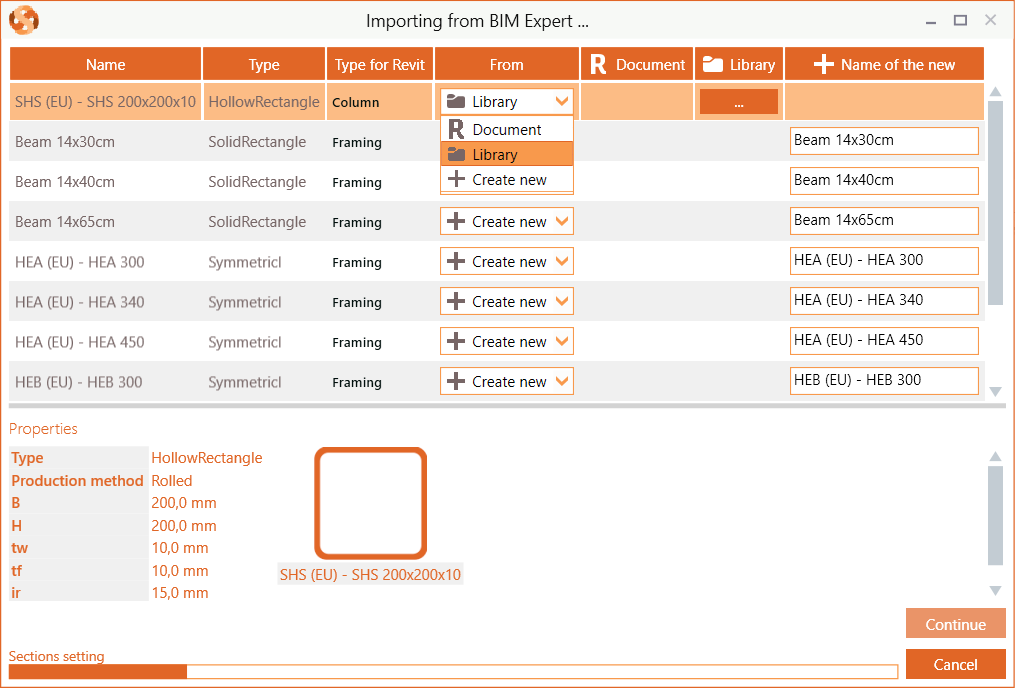
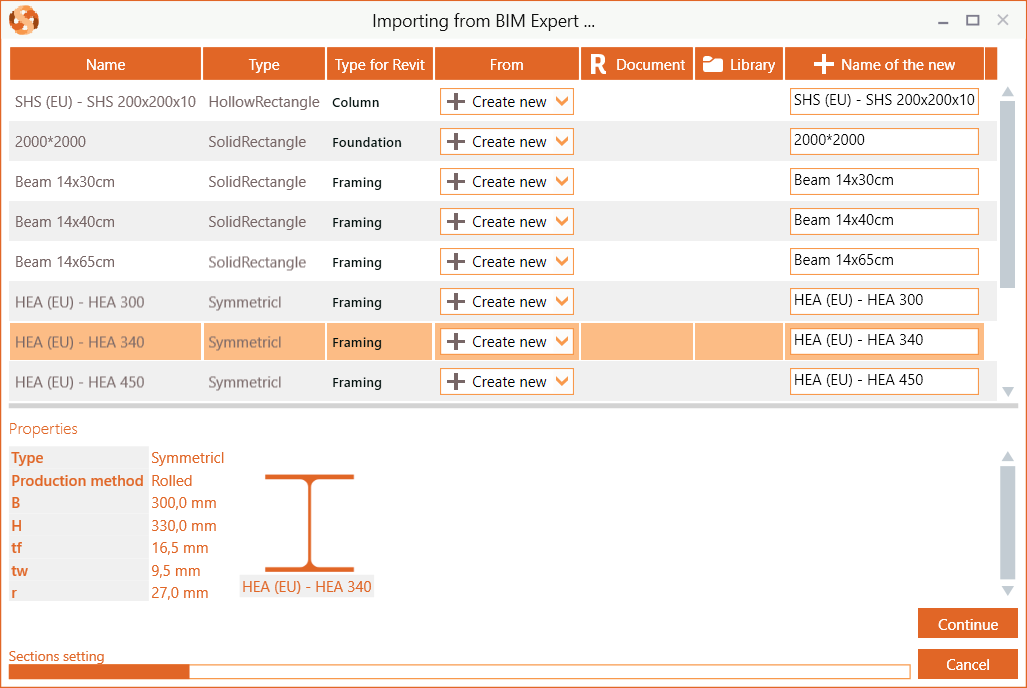
In case not all sections can be automatically mapped with the Revit document sections, you will see a dialog window to map BIM Expert’s sections with Revit’s document sections.
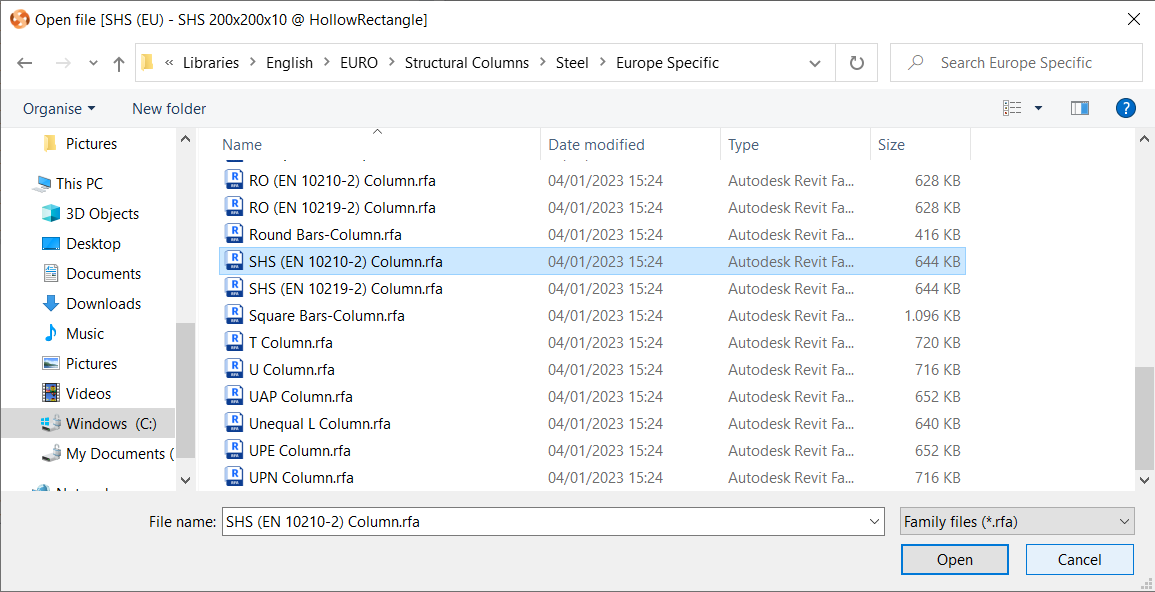
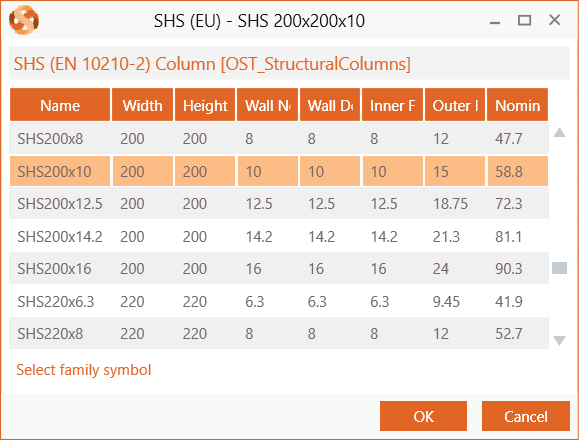
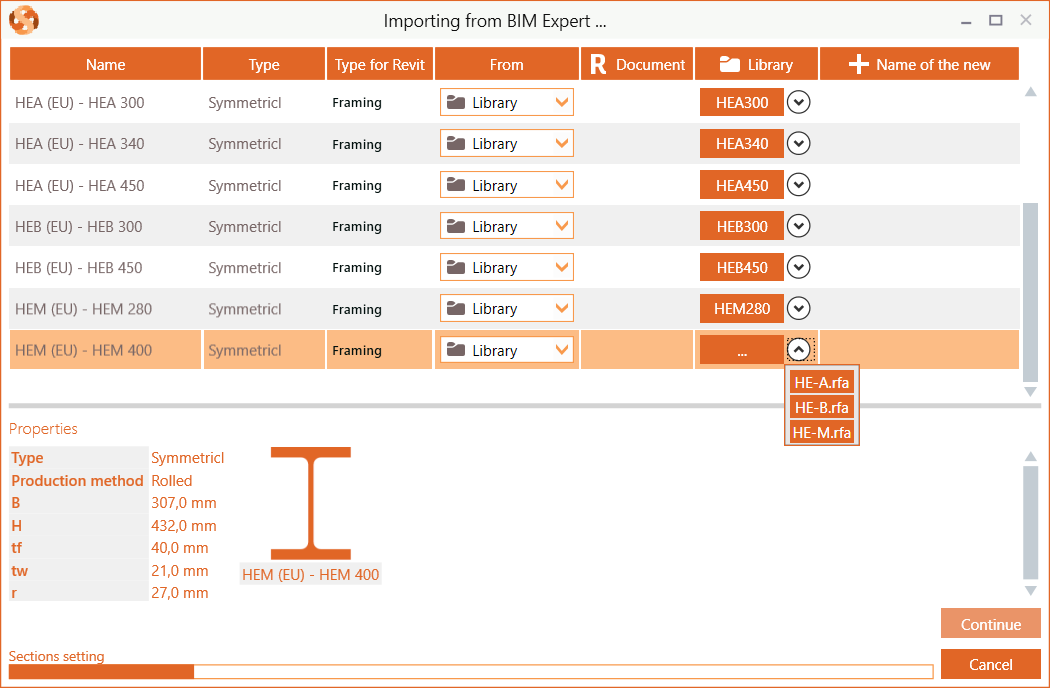
It is good practice to map all incoming BIM Expert sections with Revit document sections. Choose ‘R Document’ and then search for a match in the pull down list. If no suited match can be found, you can choose ‘Create New’ of select it from a ‘Library’.
For I, H, RHS, CHS, L, C. U, rectangular and circular cross-section, BIM Expert will create a new family symbol (cross-section) for you. There is no need to open a Revit library. If the ‘Continue’ button (right bottom corner) is enabled, all sections can be converted and you simply can move forward without any mapping.
When to choose & open ‘Library’?
- you are using “non-typical” shapes
- you have created your own family of cross-sections (symbols) to match
- you really want to match with existing Revit libraries
2.2.2.2 Plate sections
In case not all plate sections can be automatically mapped with the Revit document plate sections, you will see a dialog window to map BIM Expert’s sections with Revit’s document plate sections.
Choose ‘R Document’ and then search for a match in the pull down list. If you cannot find a suited match, you can choose ‘Create New’. It is not uncommon to add all plate sections as new.
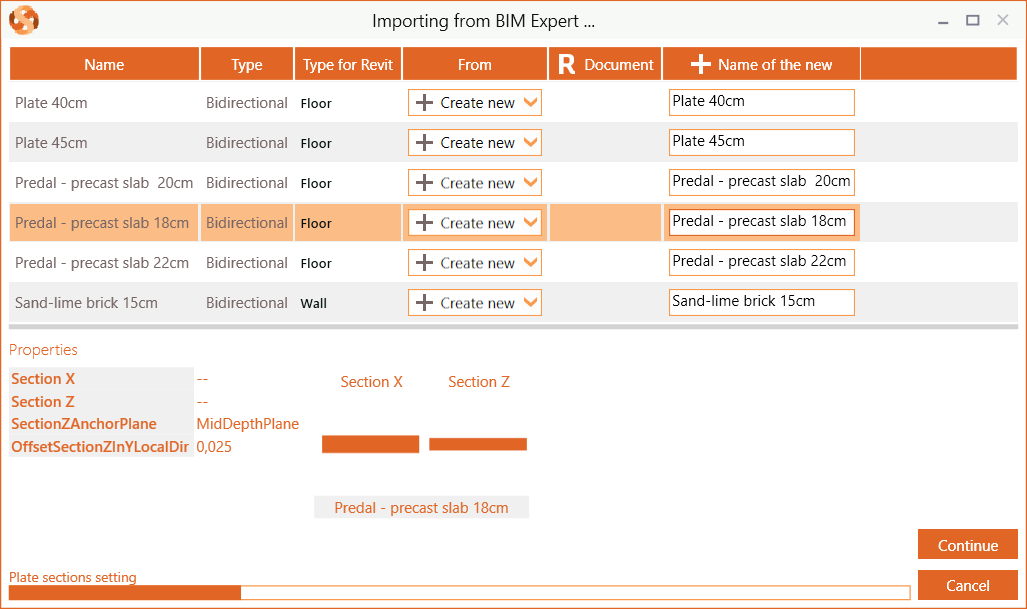
Note: The slab type ‘Breedplaat/Predal’ is converted to a precast slab in Revit. However, the original plate configuration is saved. When converting to other software supporting this type of slabs (ex. Diamonds), the plate will be recognized as ‘Breedplaat/Predal’.
2.2.4 Connections and components
Connections are currently not being transferred.
3. Final steps
The model is now in Revit, ready for the next steps.

