This article explains how to send an SAF model to Tekla Structural Designer, using BIM Expert.
1. Good to know
SAF (Structural Analysis Format) is a file format that is supported by many programs, so this workflow can also be used when you want to go
- From SCIA Engineer to Tekla Structural Designer
- From Risa to Tekla Structural Designer
- From Graphisoft / Archicad to Tekla Structural Designer
- From Allplan to Tekla Structural Designer
- From RadImpex to Tekla Structural Designer
- From AxisVM to Tekla Structural Designer
- From Sofistik to Tekla Structural Designer
- From Dlubal to Tekla Structural Designer
- From mbAECStrukturEditor to Tekla Structural Designer
- From D.I.E to Tekla Structural Designer
- From InfoGraph to Tekla Structural Designer
- From NextFEM to Tekla Structural Designer
- From MasterSap to Tekla Structural Designer
- From Prota Structure to Tekla Structural Designer
- From Karamba3D to Tekla Structural Designer
In the relevant software, make an export to SAF file and continue with the steps below.
2. Send the SAF model to Tekla Structural Designer
2.1 From SAF to BIM Expert
In the Model tab, select ‘Import’. Next, choose ‘SAF’. Click ![]() to continue.
to continue.

2.1.1 Material mapping
Database materials such as steel (e.g. S235, ASTM-Grades), concrete (e.g. C25/30, M50) and timber (e.g. C24, D50, GL28c) are mapped automatically. In some cases, the match is not automatically found, because the name differs (Concrete grade C25 instead of Concrete grade C25/30). In that case, you can select the correct material from the database. Below the material list, there is a list of the current selected material’s properties.

If you cannot find a suited counterpart in the BIM Expert database, the material can be added as new.
2.1.2 Section mapping
Database sections (such as I, H, UB, UC, W, C, U, O, ☐ and L sections) are mapped automatically. In some cases, the match is not automatically found, because the name differs (e.g. name is HEB300 – S235 instead of HEB300). In that case, you can select the correct cross-section from the database.

Parametric sections (e.g. rectangles, circle, trapezium, …) and user defined sections are not in the database. They should always be added as new.
The model is now in BIM Expert.
2.2 From BIM Expert to Tekla Structural Designer
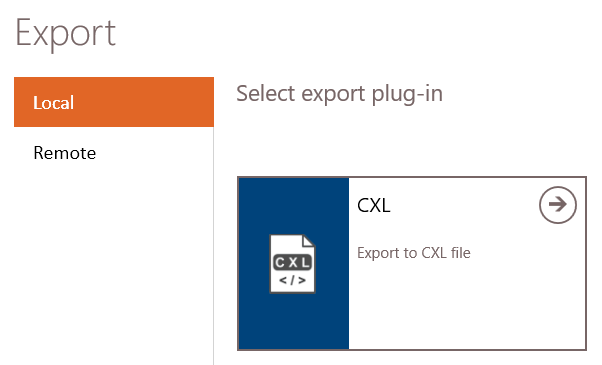
In the Model tab, select ‘Export’. Next, choose the destination, namely “CXL’. Click ![]() to continue.
to continue.
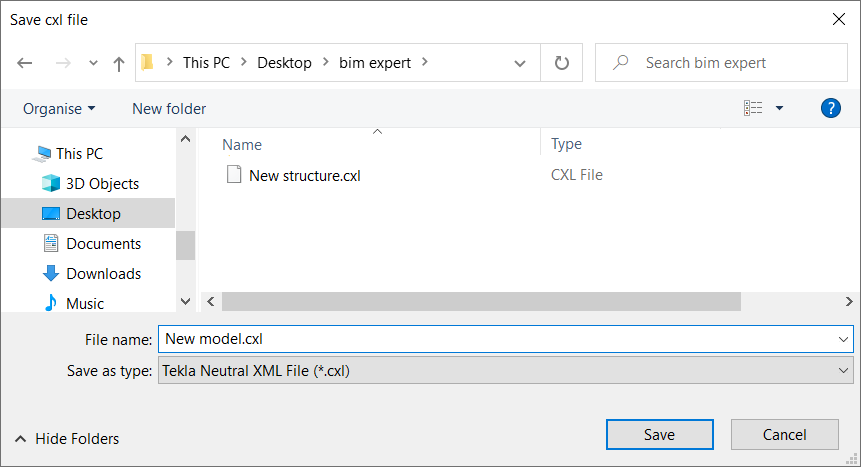
Next, you will be prompted to save the file
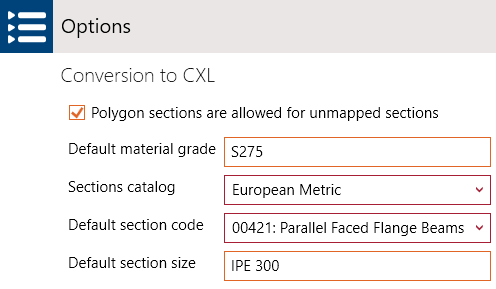
2.2.1 Material & section mapping
Most common materials and sections are mapped according to the TSD neutral file mapping conventions. If there is no match found, a default section and material will be applied. You can specify these defaults in ‘File > Settings > CXL’
3. Final steps in Tekla Structural Designer
- On the BIM Integration tab, click
 Structural BIM Import.
The BIM Integration wizard opens.
